Retopology and Baking Textures
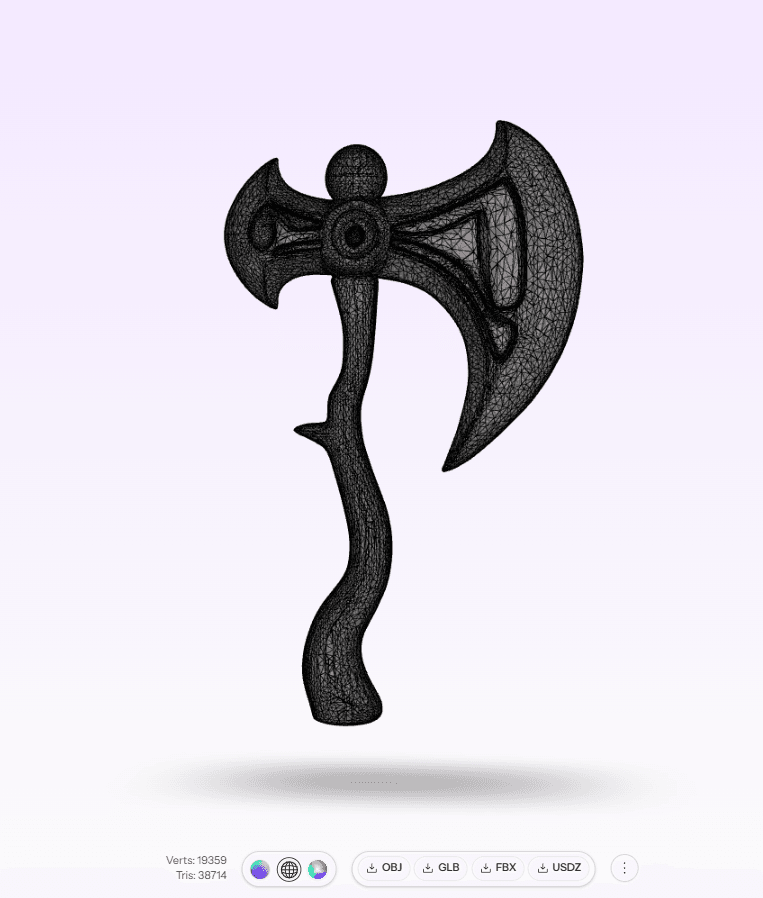
CSM meshes might be low-poly but possibly not as low-poly as required. While improvements are underway, here’s how to retopologize and bake textures in Blender:
Step-by-Step Guide:
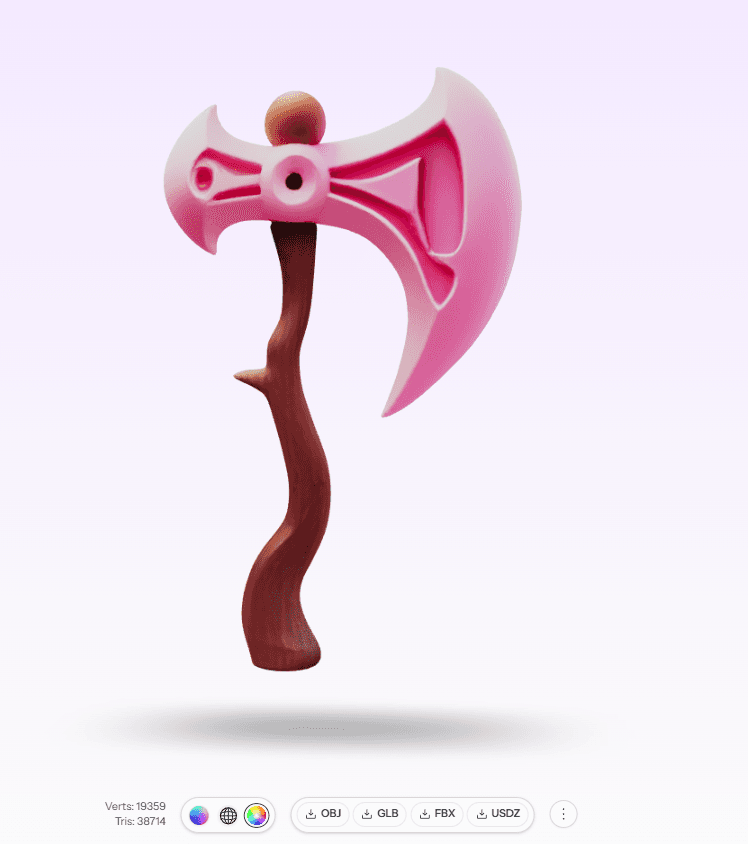
Generate Mesh:
Use CSM’s Image to 3D to generate your mesh and download it.
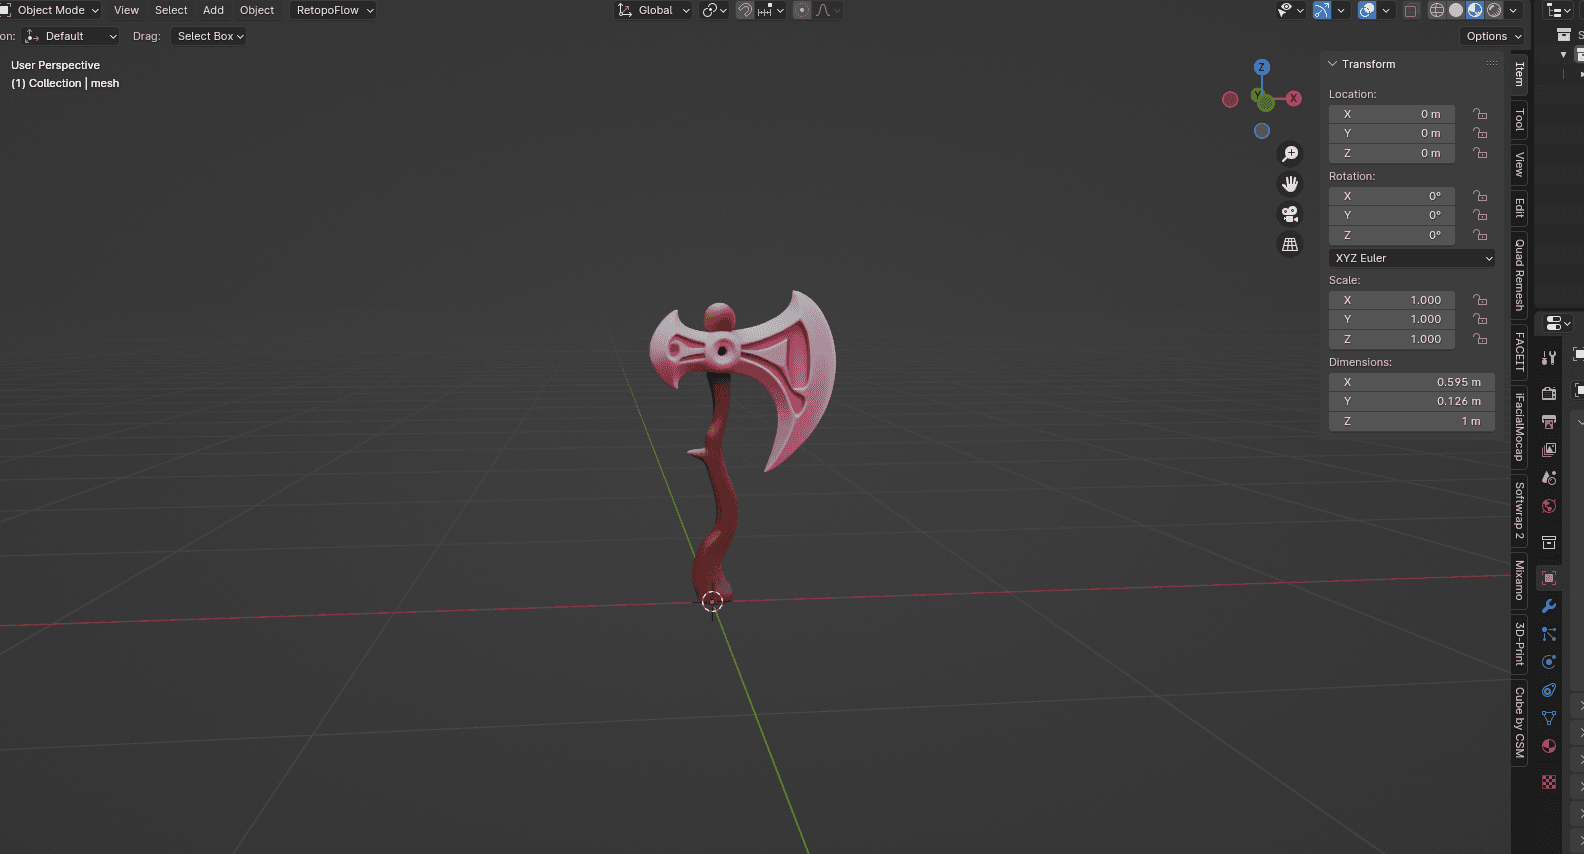
Import Mesh into Blender:
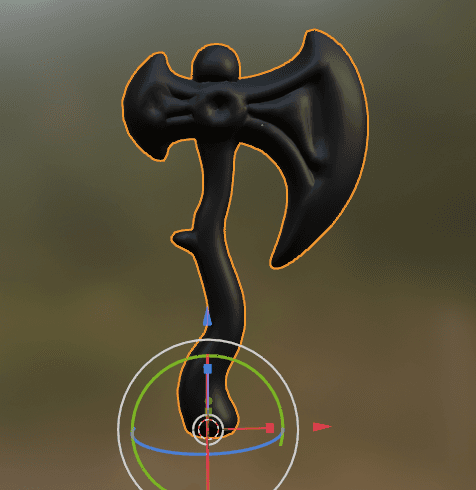
Position your mesh accurately on the axis.
Select Object > Apply > Apply Transforms to reset location, rotation, and scale.
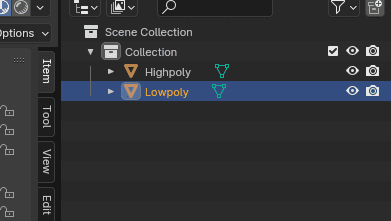
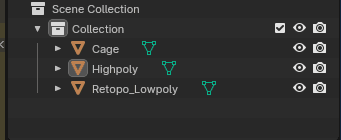
Rename this mesh High-poly.
Duplicate Mesh:
Duplicate the high-poly mesh and rename the duplicate Low-poly.
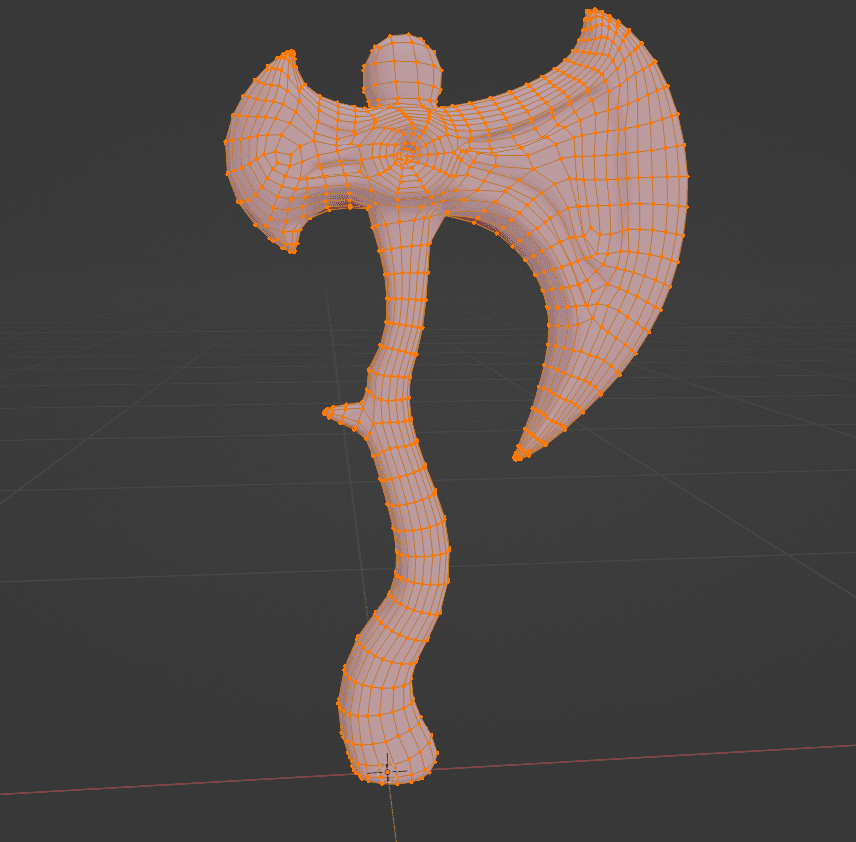
Retopology:
Retopologize the duplicated mesh to reduce its poly count. You can retopologize manually or use Blender add-ons like Quad Remesher for quicker results.
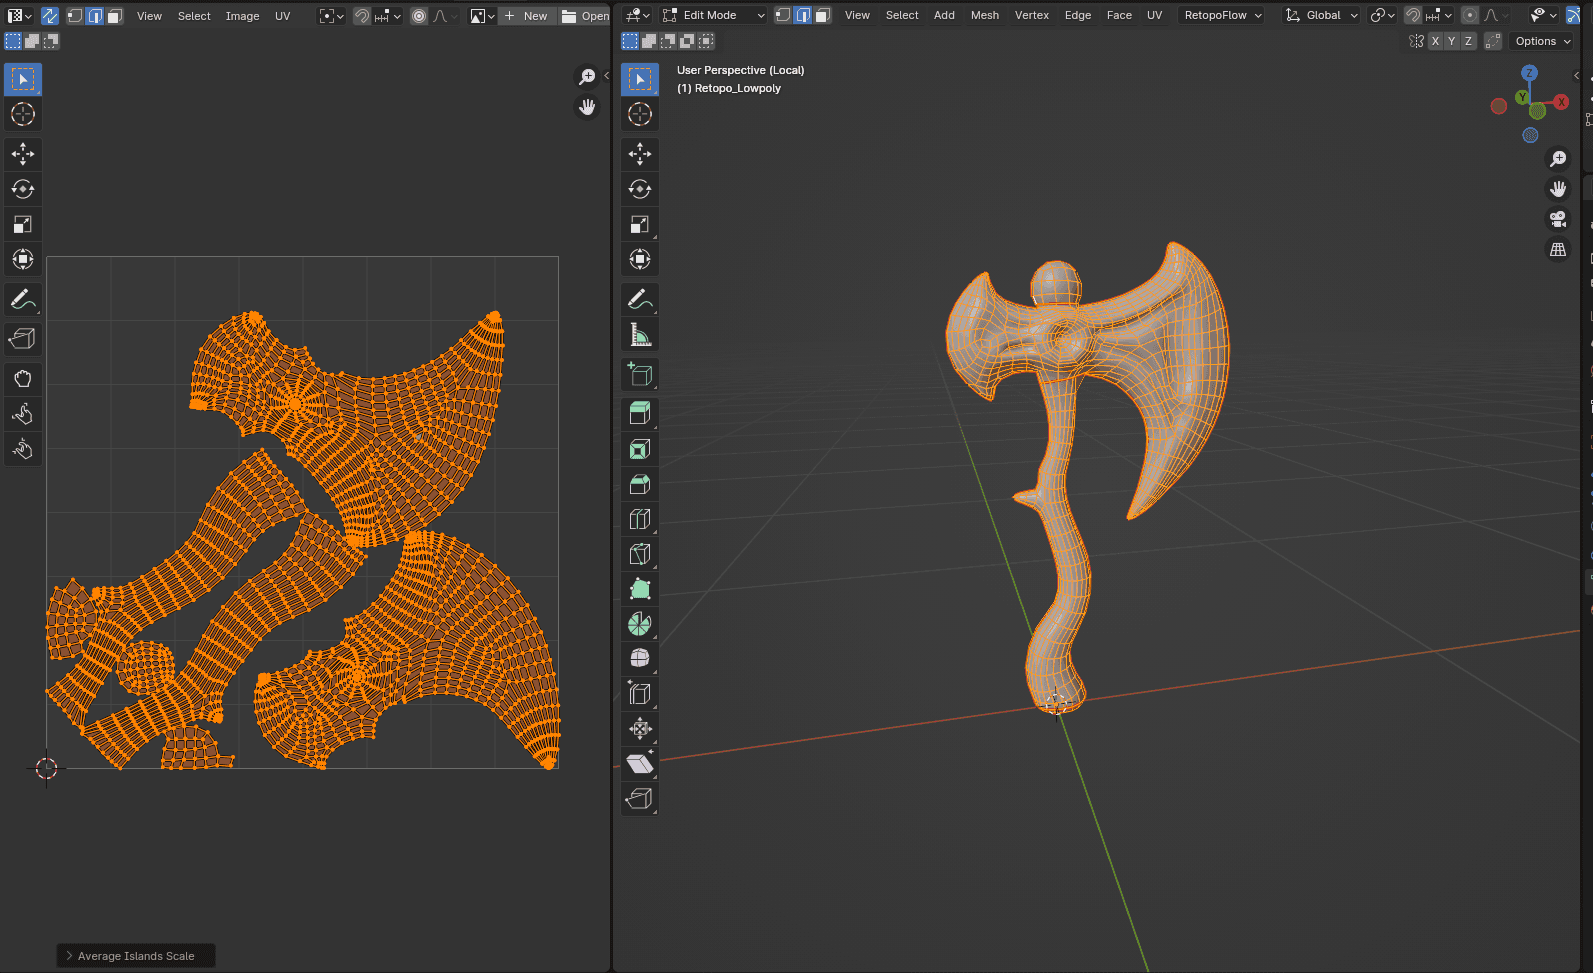
UV Unwrap:
UV unwrap the low-poly mesh for accurate texture mapping.
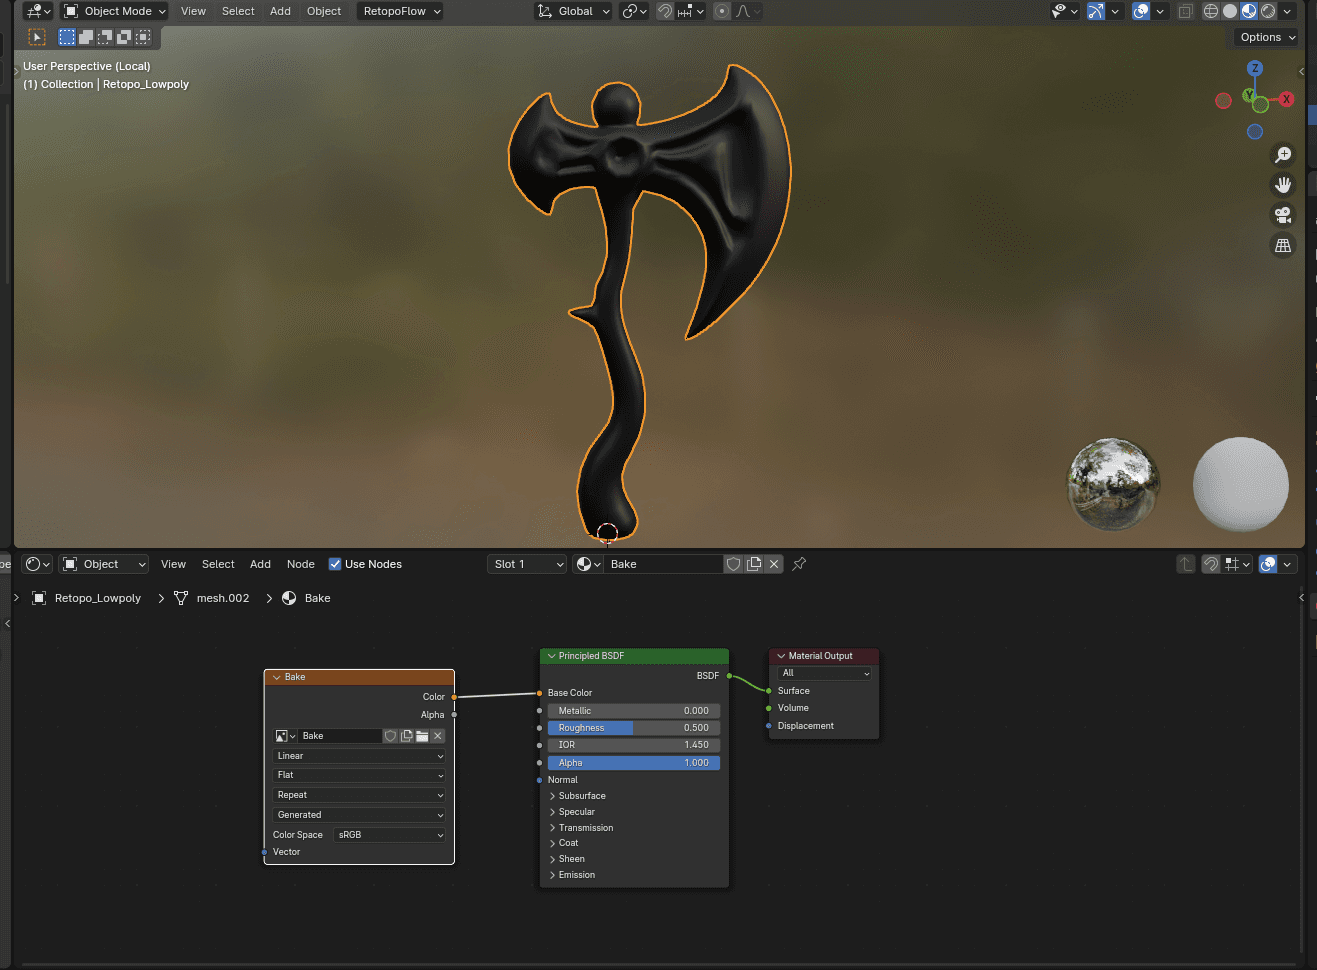
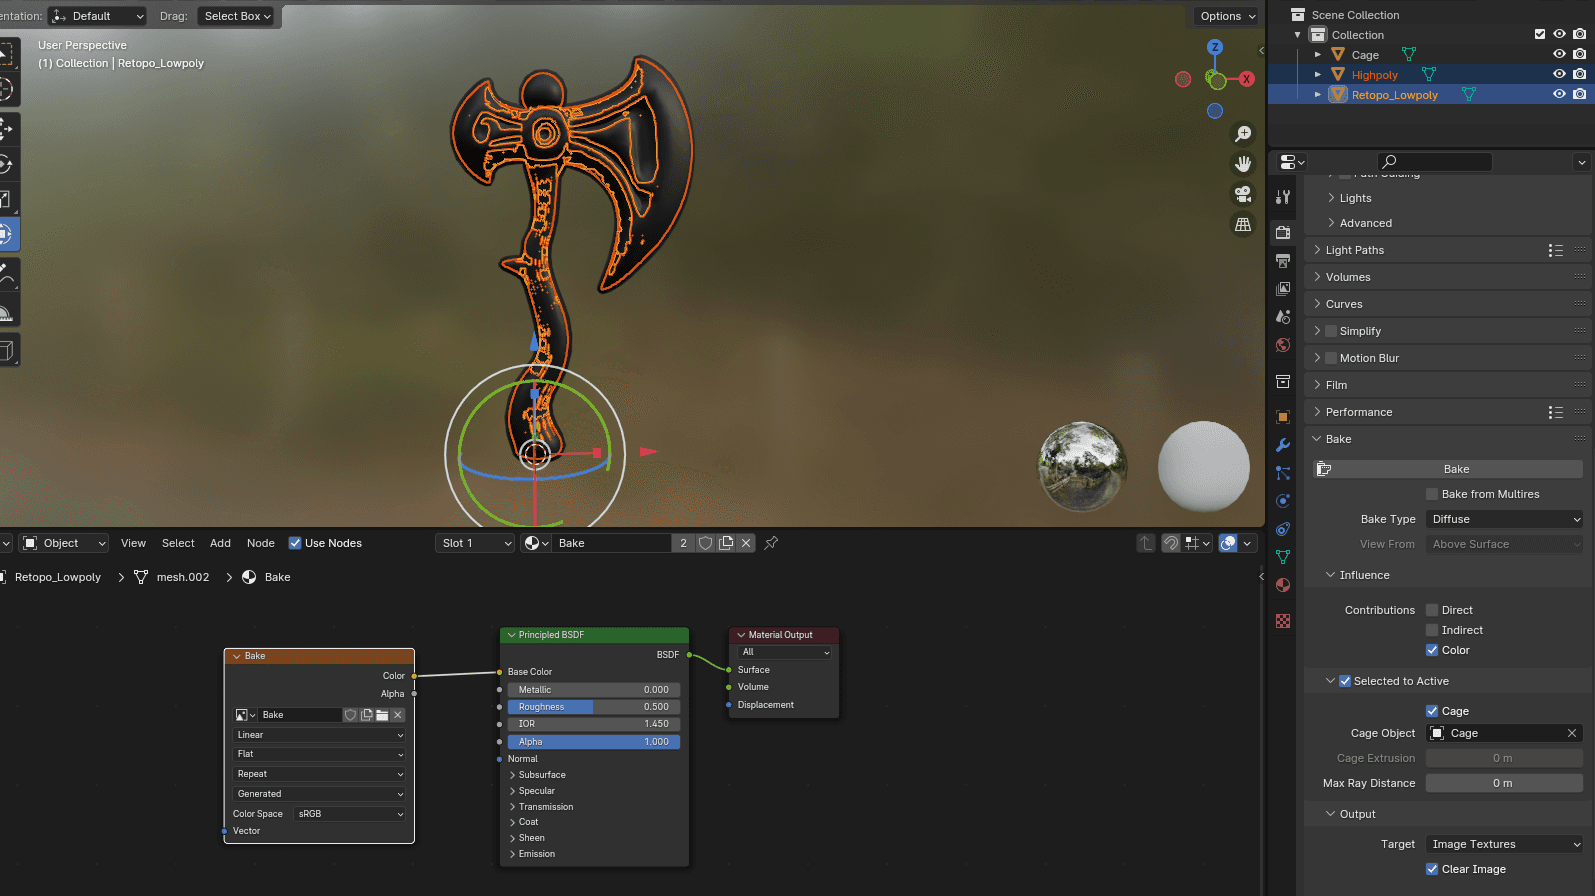
Set Up Material:
In the Shading tab, add a new material.
Add an Image Texture node and connect it to the Base Color input.
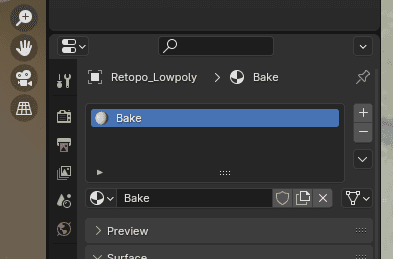
Prepare for Baking:
Set your renderer to Eevee.
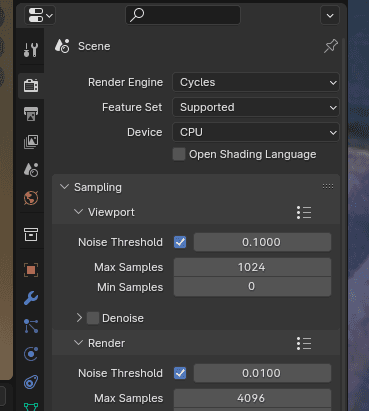
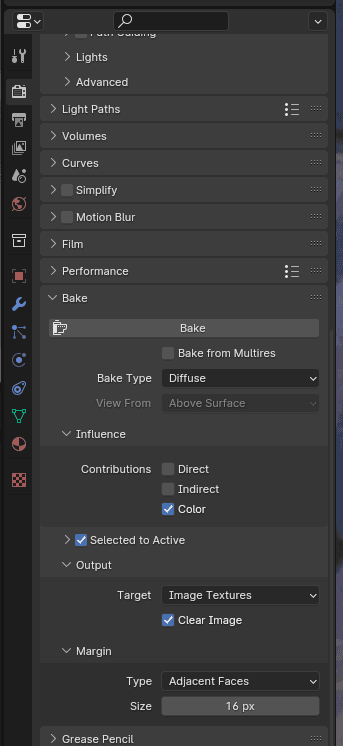
Under the Render Properties, open the Bake section.
Create a Cage Mesh:
Duplicate the low-poly mesh and rename it Cage.
Enter Edit Mode, press A to select all vertices, then press Alt+S to slightly expand the cage so it fully covers the high-poly mesh.
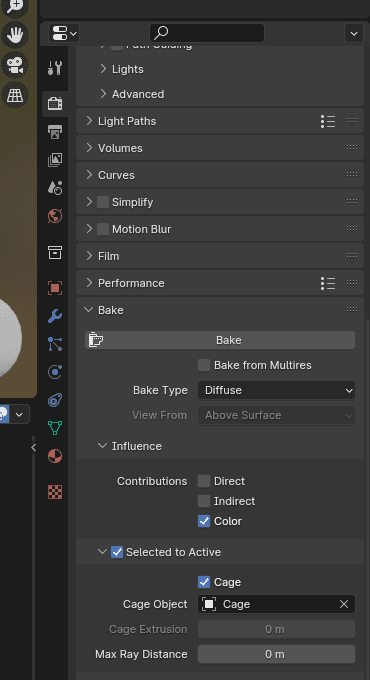
Bake Settings:
In the Bake settings, enable Selected to Active and check Cage.
Use the eyedropper tool under Target to select your Cage mesh.
Baking Process:
Select your low-poly mesh first, then hold Shift and select your high-poly mesh. Ensure the Cage mesh is not selected.
Select the Image Texture you created earlier.
Click Bake.
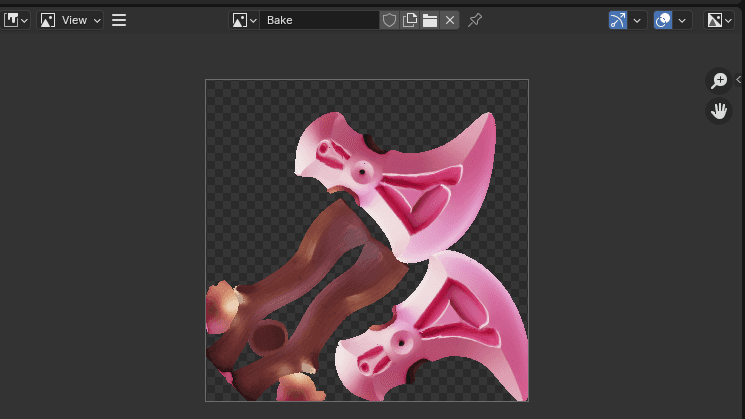
Finalize:
Your baked texture map appears in the Image Editor. Save this texture map.
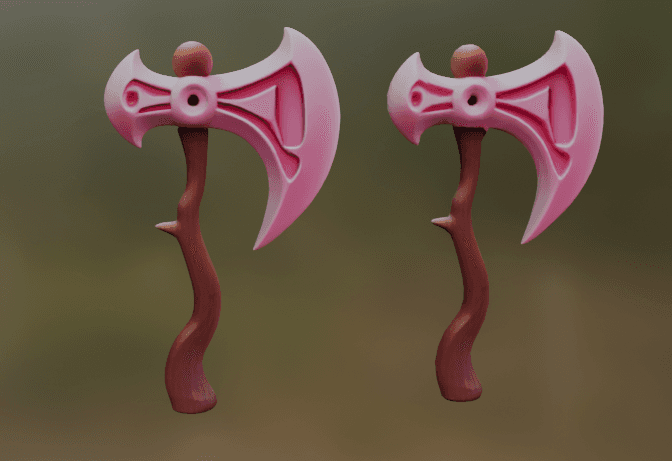
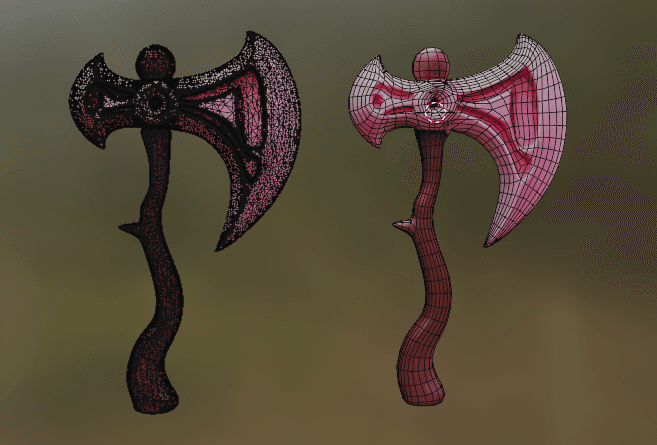
Now, your high-poly and low-poly meshes should visually match.
Video Demo Example of this workflow: Baking Textures